





Density is one of those science concepts that sounds simple.
Mass divided by volume. Done, right?
Then students start trying to figure out why a giant ship floats, why a tiny rock sinks, or why oil hangs out on top of water, and suddenly there is a lot more to talk about.
That’s exactly why I like teaching density with a mix of visuals, hands-on investigations, and real-world examples. The formula matters, but students really start to understand density when they can see it, test it, and use it to explain what they observe.
What is Density?
Density describes how much mass is packed into a certain amount of space.
The basic formula is:
Density = Mass ÷ Volume
One of the biggest misconceptions students have is thinking that something that is heavier automatically has a greater density. But mass alone doesn’t tell us density. We also need to know how much space that mass takes up.
A bowling ball has more mass than a marble, but simply knowing that doesn’t tell us everything we need to know about their densities.
This is a great place to slow down and give students lots of opportunities to compare mass, volume, and density before jumping straight into calculations.
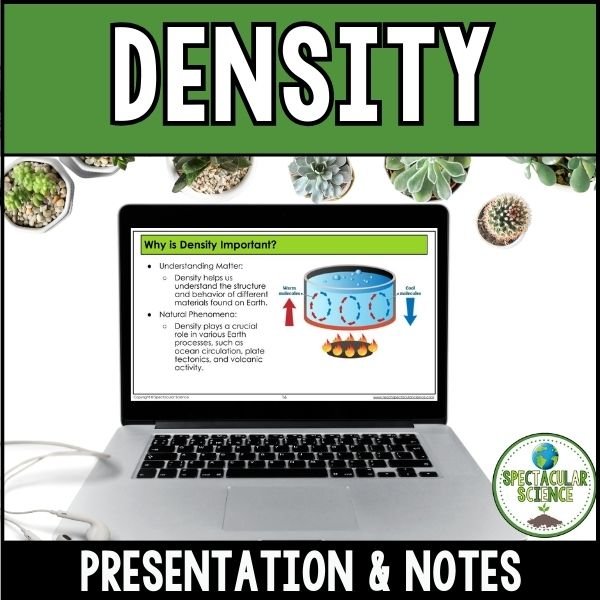
If you want a ready-to-use introduction, my Density Presentation + Notes walks students through the concept while giving them a place to record the important information as they go.
Start With Something Students Can Picture
Before I start throwing numbers and formulas at students, I like to give them something they can actually visualize.
Imagine two boxes that are exactly the same size.
One is filled with ping-pong balls.
The other is filled with rocks.
Same volume. VERY different mass.
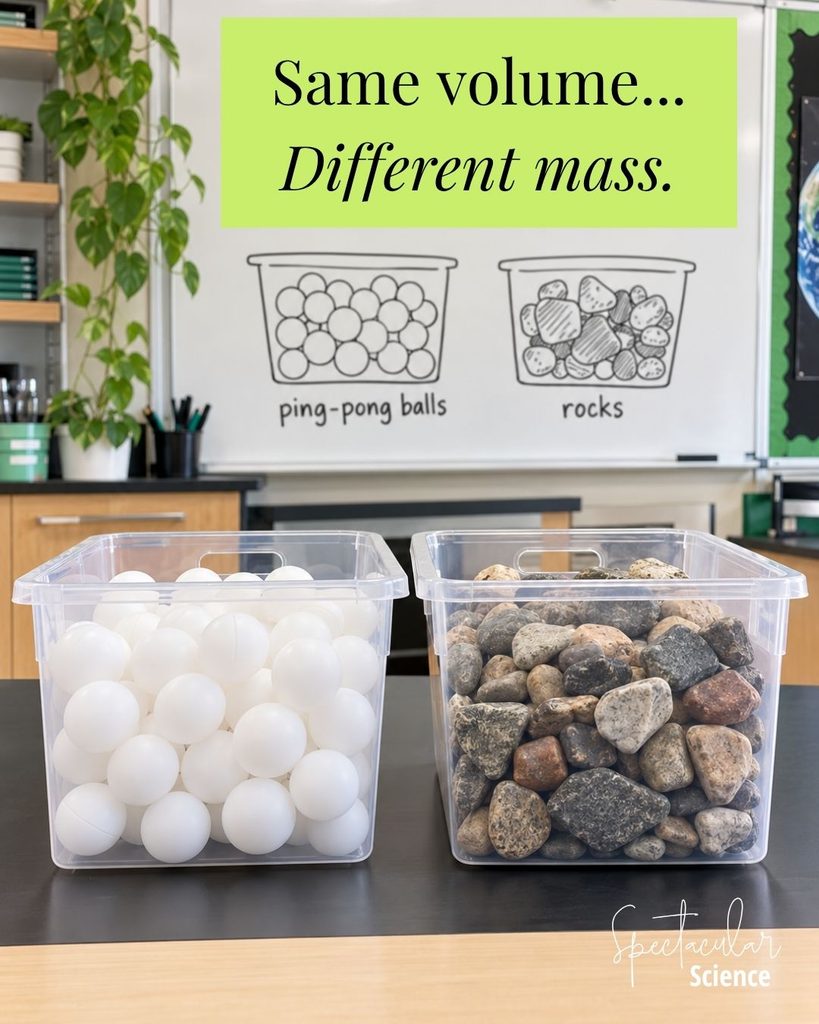
That gives students a much better starting point for thinking about density. From there, you can change the scenario:
What if the boxes had the same mass but different volumes?
What if one box were twice as large?
What would have to change for their densities to be equal?
These quick questions help students start thinking about the relationship between mass and volume instead of memorizing a formula without really understanding what it means.
Use Analogies, But Make Students Explain Them
Density is perfect for analogies because students already understand the idea of things being crowded or spread out.
Here are a few easy ones:
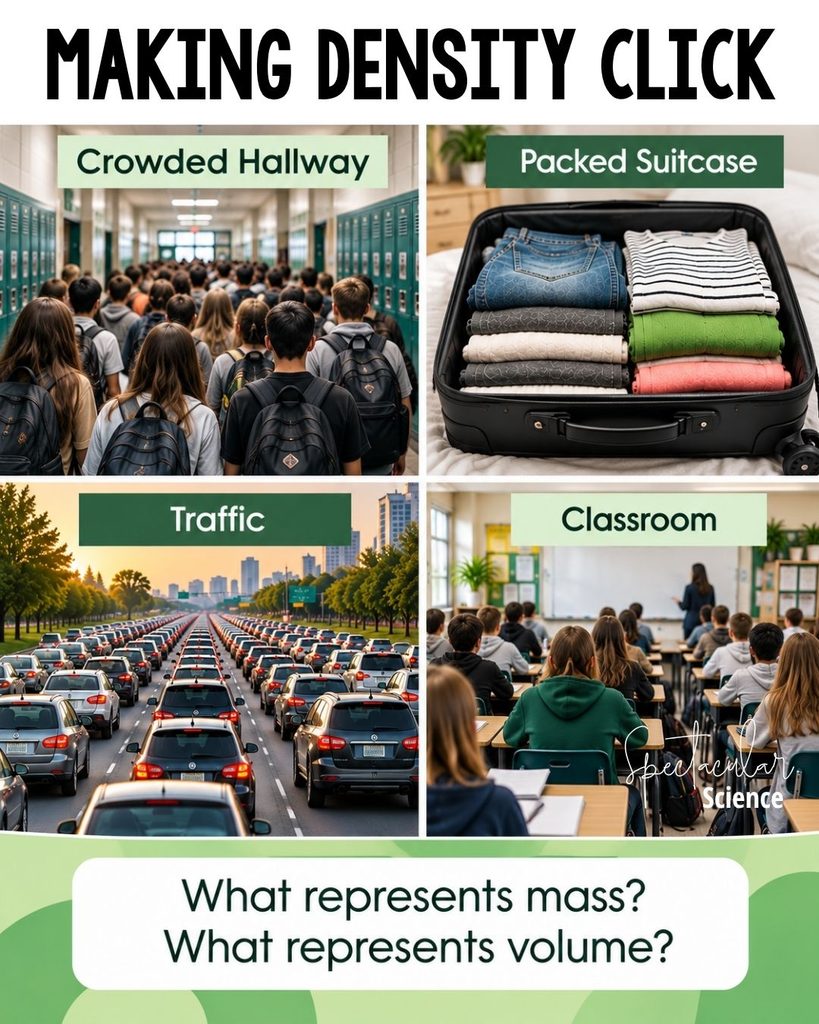
A crowded hallway: Imagine the hallway during passing time. A lot of students packed into a small area represents a greater density. Fewer students spread throughout the same hallway represents a lower density.
A packed suitcase: Two suitcases can be the same size but have very different masses depending on what is packed inside them.
Traffic: Think about 50 cars packed into a short stretch of road compared with those same 50 cars spread across several miles.
A classroom: Put 30 students in a tiny classroom and then imagine those same 30 students in the gym. The number of students hasn’t changed, but the amount of space they occupy has.
But here’s the important part.
Don’t just give students the analogy and move on.
Ask:
What represents mass?
What represents volume?
What would have to change to increase or decrease the density?
That extra step turns a simple analogy into an actual thinking exercise.
Try a Quick Sink or Float Investigation
Sink or float is a classic for a reason.
Gather several classroom objects and have students predict whether each will sink or float before testing them in water.
You could use things like:
- corks
- plastic bottle caps
- rocks
- rubber balls
- craft sticks
- coins
- small plastic objects
But don’t stop once students know what sinks.
Ask them to explain why.
For a fully submerged object, comparing its average density with the density of water helps predict what will happen. Objects with an average density greater than water tend to sink, while objects with an average density less than water tend to float.
This also sets you up perfectly for one of the questions students almost always have:
Then how does a giant ship float?
We’ll get to that one!
A Few Supplies That Make Density Labs Easier
If you teach density regularly, there are a few basic lab supplies that get used over and over again.
I like having a set of digital scales available for measuring mass.
A set of graduated cylinders is useful for volume and water displacement, and clear plastic tubs work well for sink-or-float investigations without needing to use your glassware.
These aren’t just density supplies either. They’re the kind of things you can pull out for labs all year long.
Let Students Solve a Mystery
Once students understand the basics, I like moving from demonstrations into an investigation where they actually have to use density to solve a problem.
My Mystery Density Lab has students measure mass and volume, calculate density, analyze their results, and use their data to identify mystery materials.
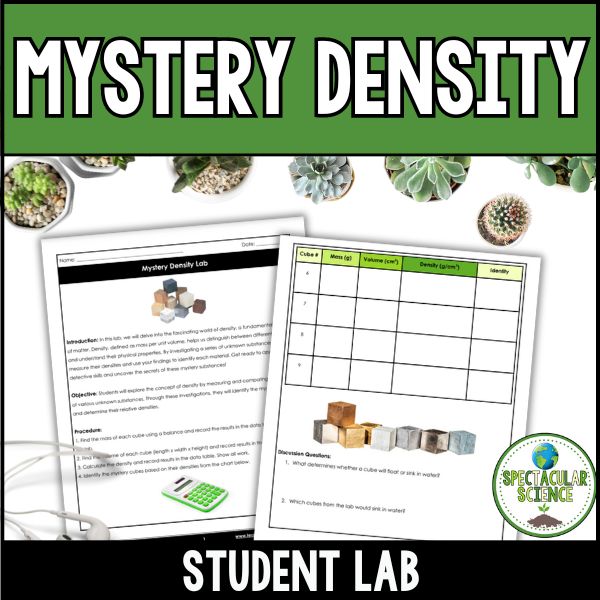
This is where density starts to feel much less abstract.
Students aren’t calculating density because a worksheet told them to. They need the calculation to figure something out.
And that small shift makes a big difference.
Build a Density Tower
This is probably one of the most visual ways to teach density.
Add several liquids with different densities to a clear container and watch them form layers.
Depending on what you have available, you might experiment with:
- honey or corn syrup
- dish soap
- water
- vegetable oil
- rubbing alcohol
Before adding each liquid, have students predict where they think it will end up.
Top?
Bottom?
Somewhere in the middle?
Then make them explain their reasoning before you test it.
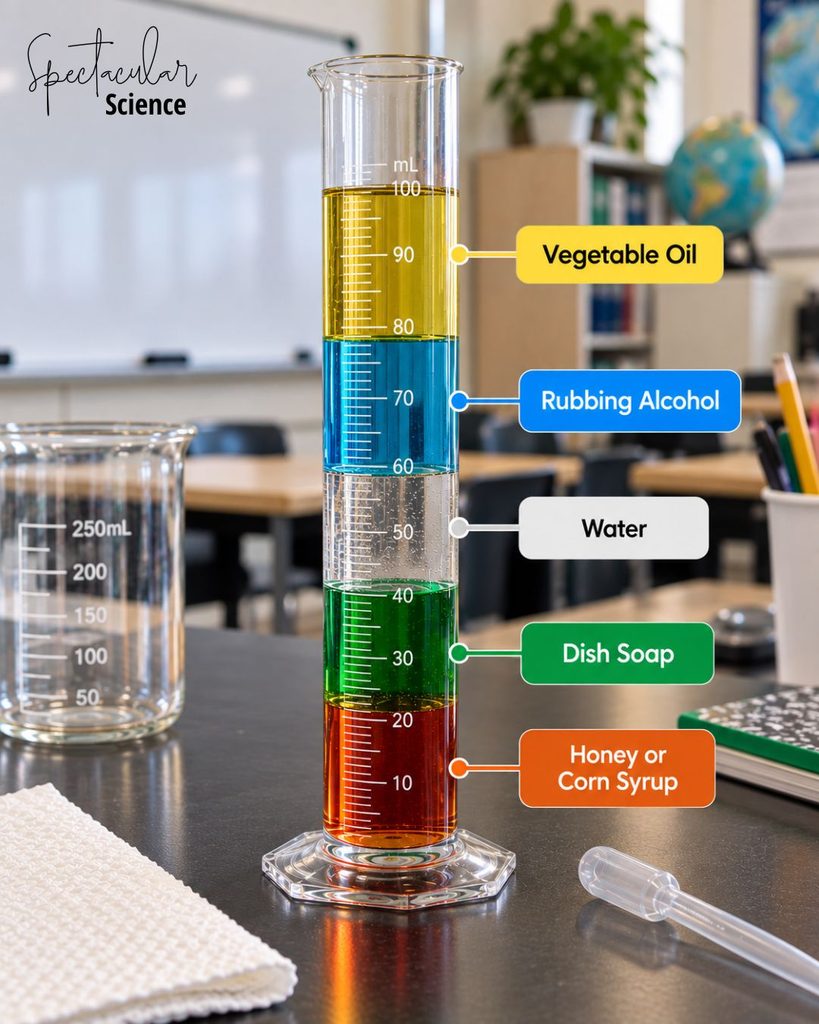
One note worth discussing with students: density isn’t the only reason liquids form separate layers. Whether liquids mix with one another matters too. Oil and water are a familiar example.
That little distinction can lead to a much better science conversation than simply telling students, “The densest liquid goes on the bottom.”
Turn the Demo Into an Investigation
Instead of building the entire tower for students, give them the liquids and ask them to predict the order first.
Better yet, give them density data and have them design the tower on paper before testing it.
Now the colorful demonstration becomes a data-analysis activity too.
If you’re doing this with several groups, clear graduated cylinders are a nice alternative to pulling out glassware at every station. Disposable transfer pipettes also make it much easier for students to add small amounts of liquid without turning the lab table into its own investigation.
Don’t Forget About Water Displacement
Students need plenty of practice calculating density from measurements, but not every object is a perfect cube.
Give them an irregular rock and suddenly:
length × width × height
isn’t going to help much.
That makes density the perfect opportunity to practice water displacement.
Students can:
- Measure the initial water volume.
- Completely submerge the object.
- Measure the new water volume.
- Calculate the difference.
- Use the difference as the volume of the object.
- Measure its mass.
- Calculate its density.
This is also a great opportunity to reinforce careful measurement and reading the meniscus correctly.
For lab stations, graduated cylinders and digital scales are really the two supplies you need most.
I’d rather invest in supplies like these that can be used for multiple investigations than buy materials that only come out of the cabinet once a year.
Connect Density to Ship Design
One of my favorite density questions is also one of the simplest:
If steel sinks, why does a steel ship float?
Students usually have plenty of theories.
A solid piece of steel is denser than water and will sink. But a ship isn’t a solid block of steel.
Its hollow structure contains air and dramatically increases the volume of the entire ship without adding a proportional amount of mass. This lowers the ship’s overall average density.
There’s also buoyancy and displacement to consider.
A floating ship displaces water until the upward buoyant force from the water balances the ship’s weight.
This is a perfect place to turn the lesson into a quick STEM challenge.
Give students a piece of aluminum foil and challenge them to design a boat that can hold as much mass as possible before sinking.
Then let them redesign.
Because we all know the second version is where things start getting interesting.
For testing, you can use plastic counting cubes, washers, or another uniform object so every group is adding approximately the same amount at a time.
Make Students Predict Before They Calculate
One really simple change can make density activities much more meaningful:
Ask students to predict first.
Before calculating density:
Which sample do you think is most dense?
Before dropping an object into water:
Will it sink or float?
Before creating a density tower:
Where will this liquid end up?
Before testing a foil boat:
What design do you think will hold the greatest mass?
Students now have a reason to care about the result.
And when their prediction is wrong?
Even better.
That gives you something interesting to talk about.
Instead of simply checking whether their answer was correct, ask students to use their observations or data to explain why their original thinking changed.
Give Students Real Data to Work With
Once students understand the concept, move beyond perfectly neat textbook numbers.
Give them density values for real materials such as:
- aluminum
- copper
- ice
- freshwater
- seawater
- different types of rock
Then ask questions like:
Which material could this mystery sample be?
Would this material sink or float in water?
Could two objects with different masses have the same density?
Why does ice float in liquid water?
What additional information would you need to identify an unknown substance?
Now students are using density as a tool instead of treating it as another formula to memorize.
Let Students Design Their Own Density Investigation
Once students understand the basics, give them a little more control.
Instead of telling them exactly what to test, provide a collection of objects and ask students to design a way to determine which is the most dense.
They have to decide:
What measurements do we need?
What tools should we use?
How will we find the volume of an irregular object?
How will we organize our data?
How can we use our results to support our conclusion?
This can be as simple or as involved as you want it to be, but it shifts students from following lab directions to actually thinking like scientists.
And you can do it with supplies you already have.
Put It All Together With a Density Unit
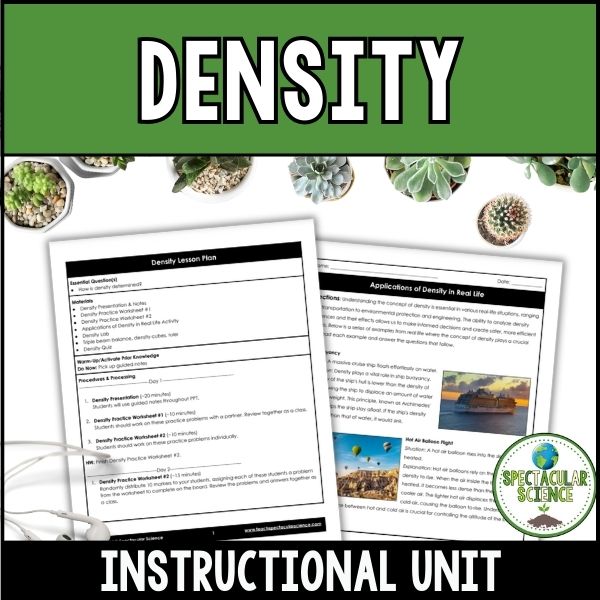
If you don’t want to piece all of this together yourself, my Density Unit gives students multiple opportunities to investigate density, practice measuring and calculating it, and connect what they’re learning to the world around them.
The goal is to take density beyond:
“Memorize D = m/v and plug in the numbers.”
Students should walk away understanding that density helps explain things they see all the time, from oil floating on water to ice cubes in a drink to massive ships floating across the ocean.
And once students start looking around the room and asking:
“Wait…do you think THAT would sink?”
You know you’ve got them thinking.
Just a heads-up: this post includes Amazon affiliate links. That means if you click through and buy something, I earn a small commission—at no extra cost to you. Thanks for supporting my work!
RELATED POSTS:
- UNVEILING EARTH’S INTERIOR: 6 TIPS TO MAKE SCIENCE EDUCATION EXCITING
- HOW TO MAP OUT YOUR EARTH AND SPACE SCIENCE CURRICULUM